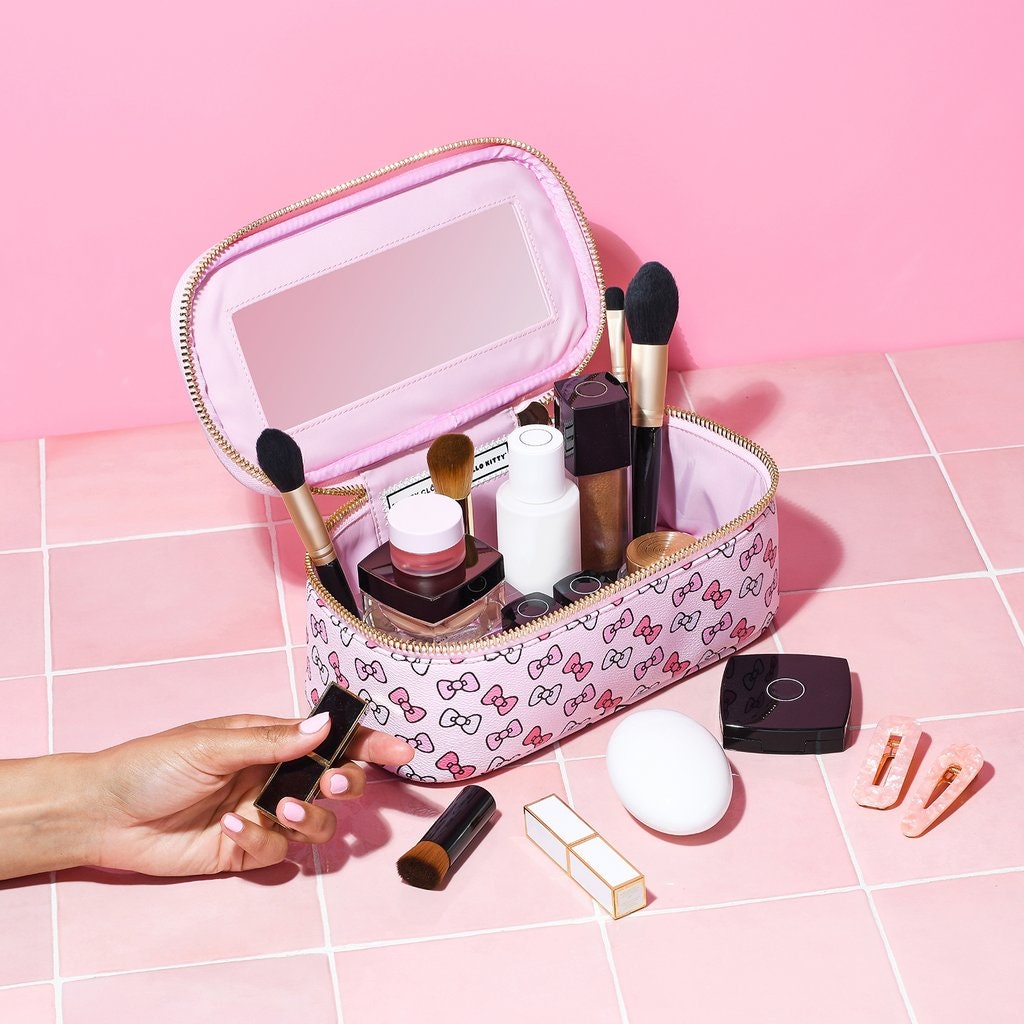
HOW TO PATCH TEST A MAKEUP PRODUCT BEFORE BRINGING IN USE
Are you among one of those crazy souls who immediately run home after getting a brand-spanking-new beauty product to apply on your face or any other sensitive area? If yes, we admit that all of us are in the same boat. J We know it’s difficult to wait, but there’s a pretty important reason you should. Nobody wants their skin to turn red, itchy, irritated, or flaky after using any new product.
Trying a new beauty product on a sensitive skin shouldn’t lead to a painful flare-up. People can be allergic to some ingredients, whether it’s natural or synthetic. Even natural components, like herbs, oils, or essential oils can cause sensitivity reactions. Sometimes people with sensitive skin blindly trust in ‘hypoallergenic’ claims and blown-up descriptions of the companies. Always evaluate yourself and test a new skincare product for a reaction before shifting from your routine product. Makeup products with thick and heavy emollients can cause unwanted breakout-related reactions like acne and clogging.
When you’re using a new skincare product, it’s recommended to always do a patch-test first to make sure you’re not allergic to that product. It will minimise your risk of suffering with a rash or breakout and avoid possible adverse reactions to new ingredients or products. Patch-testing is a method of testing a new skin care ingredient to see if it will work for your unique skin and doesn’t cause sensitivities for your skin.
WHAT IS A PATCH-TEST
There are a variety of allergies that can cause anything from minor redness to painful swelling or worse. You need to patch-test for 3 different reasons: allergic reactions, comedogenicity (pore-clogging), or skin irritations. The skin on your face is usually more sensitive than the skin on the rest of your body. There are different parts of the body for different patch tests. Inside of your wrist is thinner than the rest of your body skin. Furthermore, you may choose a small area of your face that’s easily covered such as a corner of your forehead, behind your ear, the side of your neck or the underside of your jaw. If you are not comfortable around your face, you may pick the upper part of your inner arm as a starting point to check for compatibility.
HOW TO DO A PATCH-TEST
• There should be no other products on the skin. Be sure to wash, dry, and clean the area you choose to have a patch test.
• Apply a small amount of the product you are testing to one of these areas.
• Cover it with a bandage.
• Leave it for at least 24 hours without getting it wet.
THE REACTIONS YOU NEED TO OBSERVE
The next step is to check the reaction after testing out a product. Wash the area you tested with water and a mild cleanser. Now, see the result and decide:
Severe reaction: The reaction will be reddening, bumpy, burning, splotchy, itching, painful, or other irritation on the skin within 24 hours of application. Stop using the product immediately.
Mild reaction: It can be tricky. Sometimes you will have a reaction to a product such as slight pink patch appears but subsides within 10-15 minutes. It is because your skin is not used to that product or it might be working to clean out the bad stuff of your skin. Certain ingredients may give a temporary reaction. However, if your skin starts breaking out in areas where it normally wouldn’t, stop using the product right away.
No reaction: If that application produces no reaction within 24 hours, the product is probably safe to use. You’ve got your go-to skincare item!
IN CASE OF SEVERE REACTION:
If you find your skin red and covered with a rash after a patch-test, you can cool it up by applying cold plain yogurt or Milk of Magnesia to the affected area. Rinse it after leaving it on for 15 minutes and repeat after few hours if needed. It is always better to talk to your doctor or an allergy specialist if you have severe reaction.